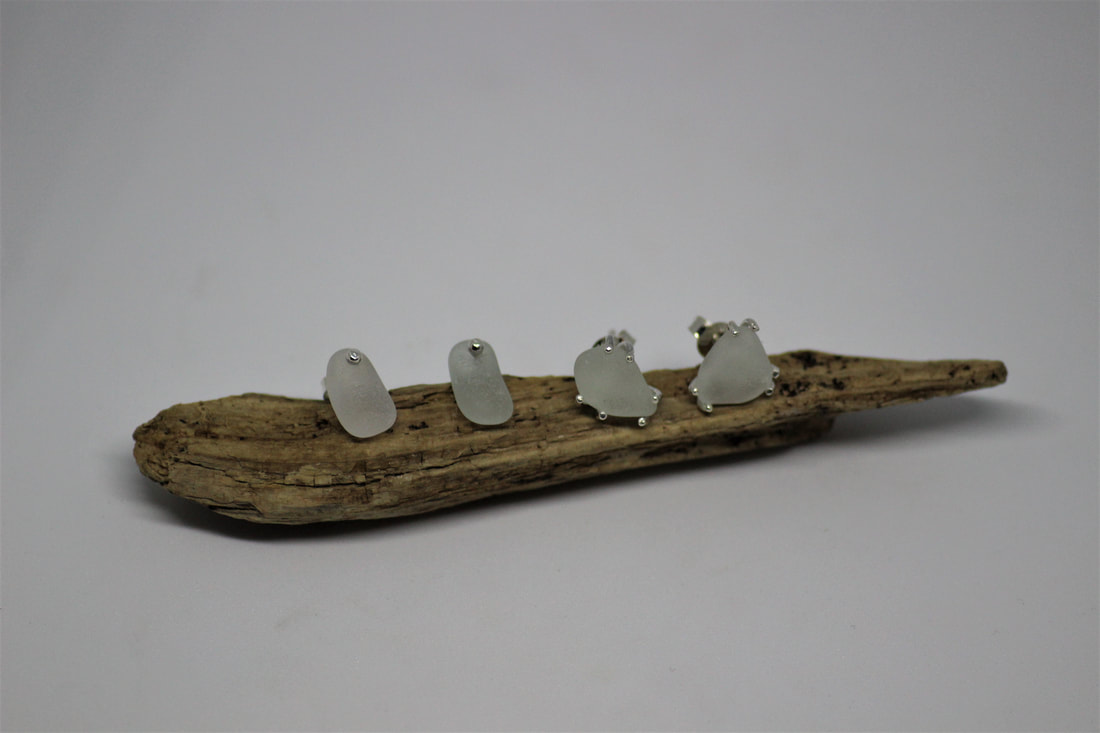
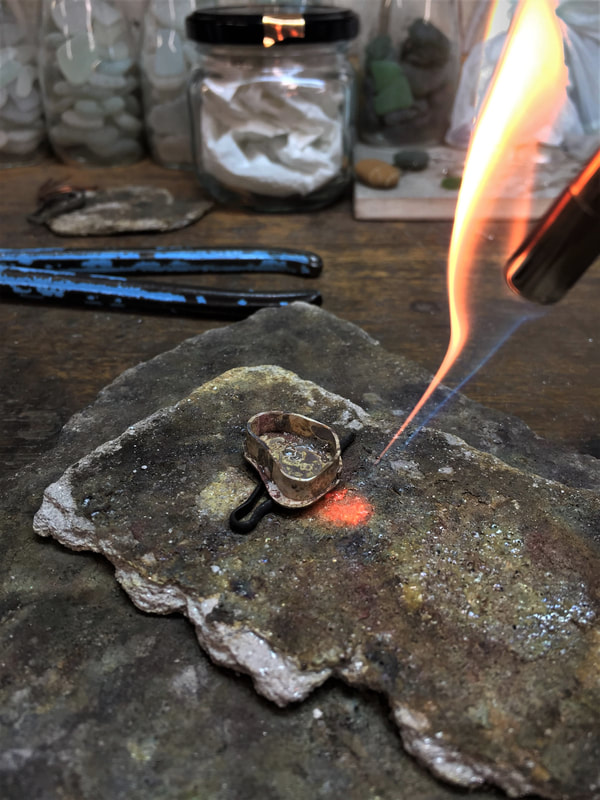
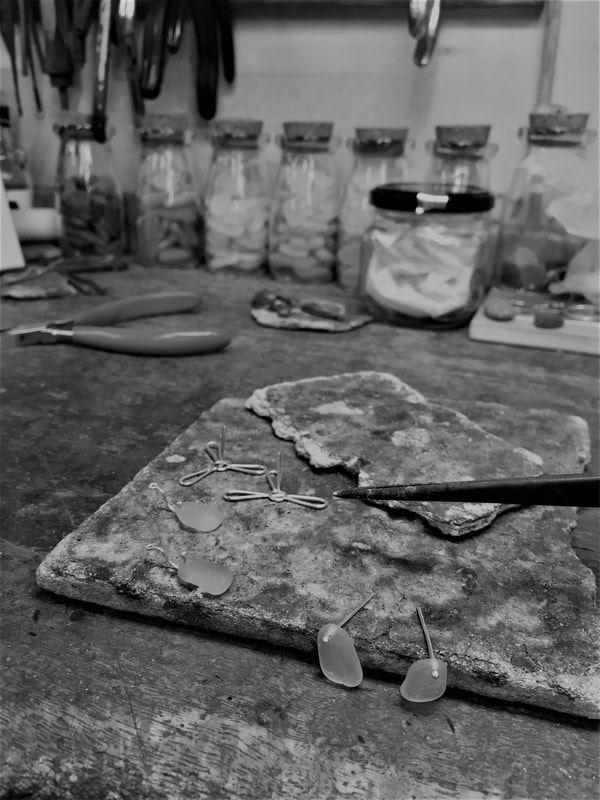
This was my first time making and setting something on my own ...These have been some of my favourite sea glass pieces I've made so far. A huge amount of time, work and material is put into a rub over set piece of jewellery, but the end result really makes up for it.
I later cut and filed a fraction of silver from the top as Dad had warned that too much metal to push over can cause creasing in the silver and an untidy finish. Lastly before beginning to set, a small angle was filed around the top edge of the setting where I would be later pushing the silver.
Next time I'd like to pay more attention and care to reduce the marks made on the outside whilst setting, which will also help alleviate the amount of polishing needed after. I’d also try to remember to focus on troubling areas from earlier on in the process, as I hope this will help enclose the shape more evenly.
I'll have to make lots for the fun of it and hopefully I'll gradually get more skillful at setting.
0 Comments
 Handmade Sterling Silver Chain and Heart set with an Untreated Natural Yellow Round Diamond I first replicated a small section of the chain in copper wire in order for me to visually understand the size, the amount of links required to make an 18" chain, and so that I could make adaptions to the design without wasting silver. It was at this stage that I decided the light wasn't reflecting as I had imagined it to, so dad and I decided to create a small flat on the oval links to bounce light in a different direction. Following this I handmade each oval and round link in silver - 75 soldering's in total, and pierced out a heart in 2.2mm flat sheet. The customer wanted a yellow stone set into the heart, and against other stones our untreated yellow diamonds had an exceptional colour to them and therefore it was no contest. Dad kindly demonstrated how to set the untreated yellow diamond whilst I eagerly watched him drill the hole, create a seating ledge and rub over the metal to enclose the diamond. 18ct Yellow Gold Cross Ring with a tube set Round Diamond This ring was a surprise gift for a customer who had lost a well-loved similar one and wanted it replaced. Sterling Silver Clover with a Gold Bead pistil of the flower and a tub set Peridot A very close friend of ours was after a Christmas present for his other half, whom we know loves coloured stones. After I'd pierced out the flower and gradually got a feeling for the shape, Dad lugged this huge steel bowl filled with pitch out from under a bench. Resting it on the pitch and using ball punches and a nicely weighted hammer he repeatedly worked from the outer part of the petals inwards, hitting delicately the closer to the middle he got, and then turning it over to hit the centre to invert the the curve. This job was a perfect excuse for me to see a new technique in the workshop, and now that I have some understanding of what it can be useful for, I cant wait to try it out for myself. We also made a small gold bead and soldered it to the flowers centre, along with the jump ring and tube for the stone. It was a choice between a 2mm round amethyst or peridot until we soldered the gold bead and it was then decided that tonally a peridot worked better. These were just a few examples of what we created in December, we spent lots of time on repairs and trying to make dolls house stock for Christmas orders.
Dad said 'I haven't lived until I'd done a Christmas rush' and he was spot on! We are both looking forward to the new year!
A second big thank you goes to everyone who ordered items from our miniatures collection. We greatly appreciate your orders, enquiries and kind words and in return we hope to be able to get some brand new miniature pieces to your dolls houses in this next year, as we really love making them!
Mustard Bucket and SpadeJust what you need when you're down at the beach, however this one is for your dining table! A miniature spun Sterling Silver and Gold Guilt Bucket with a moveable handle, accompanied by a Sterling Silver and Gold Guilt Spade, intended to be used as a quirky Mustard Bucket and Spoon, perfect for any seaside inspired home. Opal and Diamond PendantWe have both been busy in the workshop over the last few weeks with private commissions for customers. This is a recently made Sterling Silver Pendant set with two round Diamonds, and an oval triplet Opal that the customer possessed previously and wanted to incorporate into a new piece of jewellery. Spent a lovely afternoon collecting sea glass along our Whitstable shores. I have been trying to keep an eye out for particular shapes and colouring for a commissioned piece but was unlucky today... hopefully I'll have more success within the week. For now, we shall see what I can to do with the pieces I found today.
Spaniels are meant to be good at sniffing out and searching but I am yet to find out why Digby is no good as searching for sea glass with me! Fish, crabs and shell crunching is more his forte. However, he clearly enjoys a beach walk!
Making our Cascade Bead Bracelet and Necklace - Soldering a hollow bead onto a solid silver peg28/10/2020 This was my first more theoretically challenging piece that dad asked me to complete; making a cascade bracelet and necklace that required me to solder a silver hollow bead with a single hole in its base to a solid silver curved peg. He explained that when soldering you have to be aware of other parts of the item that can get heated and damaged by soldering without care. This means you need to understand where the heat can travel and try to reduce that risk as much as possible by positioning the items to take the tension out. Therefore, the challenge to this task was to keep the heat on the peg and only touch the base of the hollow bead. This is because when putting the peg into the hole it traps air and creates some sort of vacuum. Getting the vacuum hot would cause the trapped air to expand and the ball to either shoot off or possibly explode. I’d like to say I was successful throughout the soldering process, however, it’s rare for anyone to do everything right first time. Thankfully nothing exploded, neither did a burning ball of silver shoot off in the direction of dad’s bench, but I did have to add more solder or re-solder the pieces that I could see hadn’t gone completely around the circumference where the peg met the bead. I’m yet to polish the completed bracelets and necklace, as I reckon I’ll need a bit more guidance for these pieces compared to the rings and other bracelets I’ve put on the polishing mop. Fingers crossed it goes to plan! Update: Success!The polishing procedure was kindly demonstrated by dad and I timidly followed, because he explained that if I were to lose my grip on the bracelet or necklace then I need to move out the way quickly as the motor could rip the item from my hands and fling it around, leaving it needing to be discarded and perhaps a nice trip to A&E! Luckily, I didn't have to make an emergency exit from the polishing room. However, it was difficult to get all parts of the bracelet and necklace polished to a high standard whilst making sure that no additional parts touched the metal spindle of the polishing mop. As this would result in bracelet and necklace being scratched and needing further attention. However, both pieces are now brightly shining in the workshop waiting to be put on our Etsy page for someone to love them as much as we do! Our seaside town of Whitstable is most known for its wild and native oysters. Their popularity dates back to the Roman period, where there is evidence that oysters would be sent back to Rome. However, since the 11th Century oysters have been celebrated and blessed in Whitstable to safeguard an abundant harvest for the next year. Today the festival begins with a religious ceremony and the Native Sea Scouts landing the oysters. The oysters are then paraded and blessed through the town and given to restaurants, inns and bars along the way. 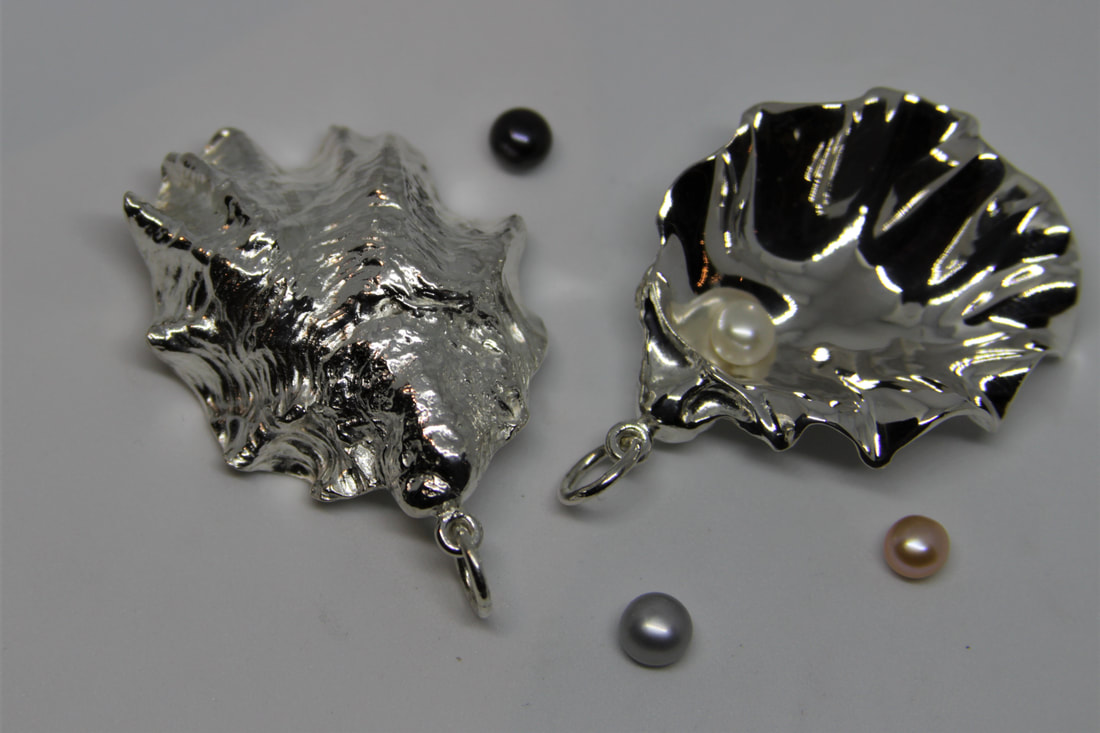 |
AuthorMegan, the middle daughter of Stephen Randall, who has joined him in the workshop to follow a career in Jewellery Making and Silversmithing Archives
February 2023
Categories |


 RSS Feed